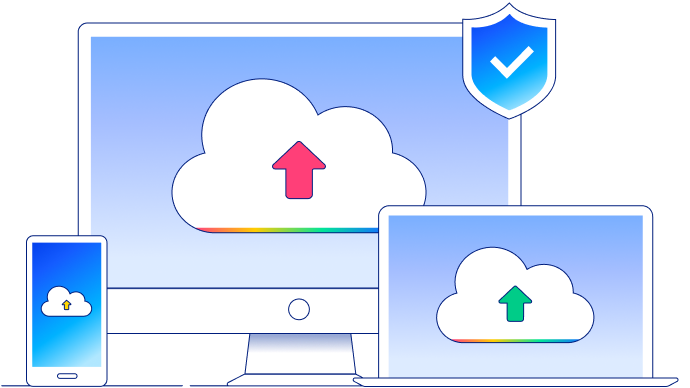
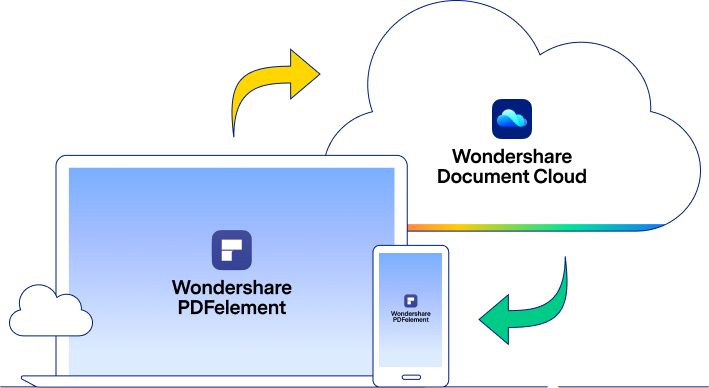
Easy Cloud-based Document Management
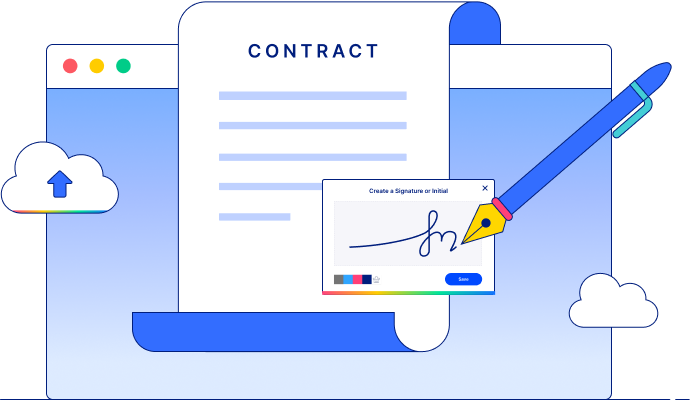
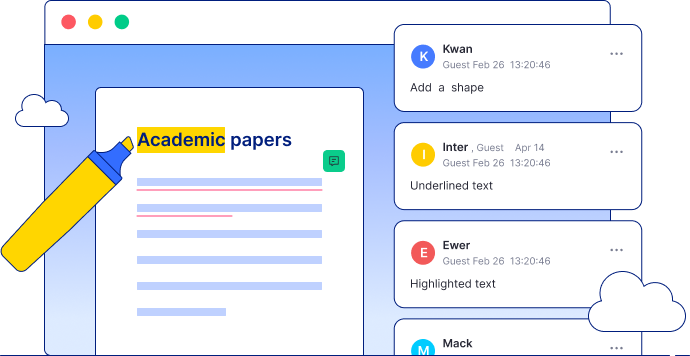
Collaborate, sign documents, and simplify your workflow with this cloud-based platform embedded in the most complete PDF productivity solution: PDFelement Pro DC. Get control over your documents on any device, with guaranteed cloud privacy across Windows, macOS, Linux, and mobile systems.